ESRI Integration Configuration
Note: This is a licensed feature. To have this feature enabled, please contact assetic.support@brightlysoftware.com
Prerequisites: An Esri ArciGIS Online account or access to a federated Portal for ArcGIS is required in order to integrate with Predictor. See ESRI Integration - Requirements for details.
Introduction
Assetic Predictor provides the ability to integrate directly with Esri ArcGIS Online & ArcGIS Portal (included with ArcGIS Enterprise). This feature allows Assetic Predictor users to visualize the results of a Predictor Simulation spatially, allowing asset custodians to analyze patterns and trends, and better interpret predicted asset works programs and predicted asset failures within the asset stock portfolio.
Before the results of a Predictor Simulation can be published to Esri ArcGIS, Predictor must first be linked to an Esri ArcGIS Online/ArcGIS Enterprise portal. This is achieved by the integration configuration that is detailed in the remainder of this article.
The configuration defines layers in a feature service that can be used for:
- Data source for Predictor to model (Data import)
- Publishing Predictor Simulation (Publish to ESRI ArcGIS)
A single feature service may be used for both of the above activities, or separate feature services may be used for each activity.
Configure Integration
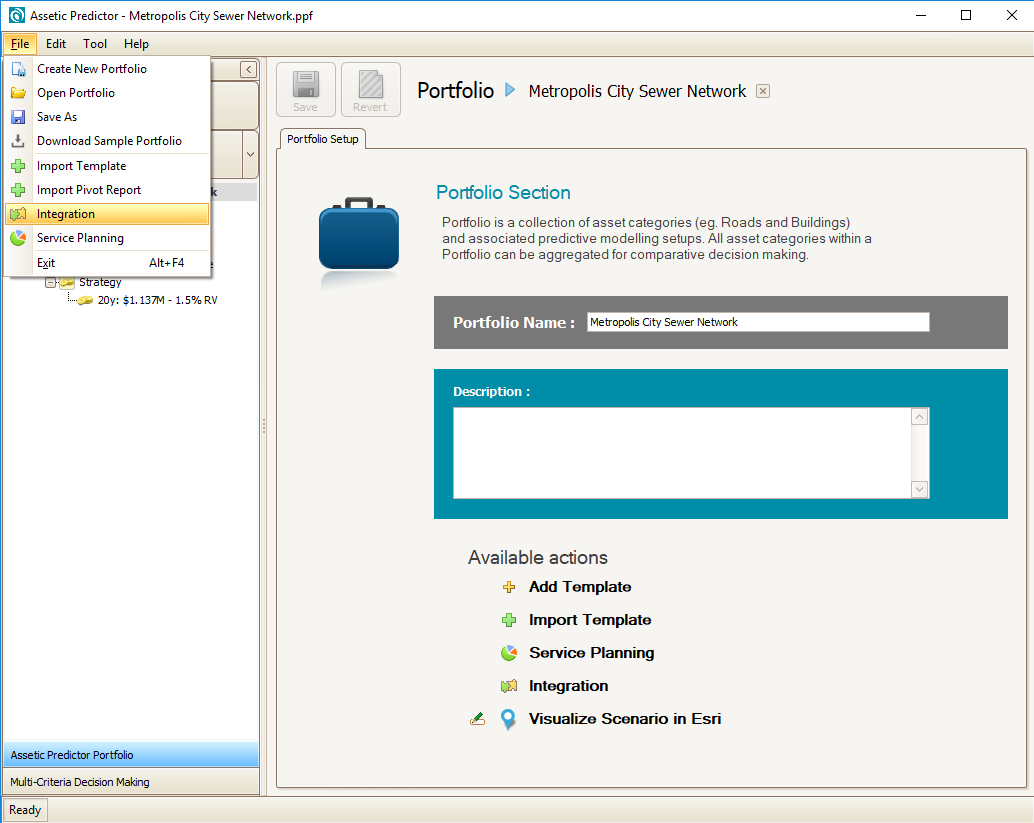
First select ‘Integration’ from the Predictor file menu:
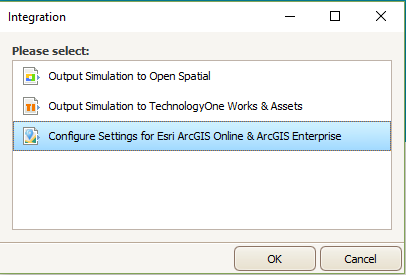
Next, select ‘Configure Settings for Esri ArcGIS Online & ArcGIS Enterprise’:
This will open the Esri ArcGIS Online & ArcGIS Enterprise Integration Window:
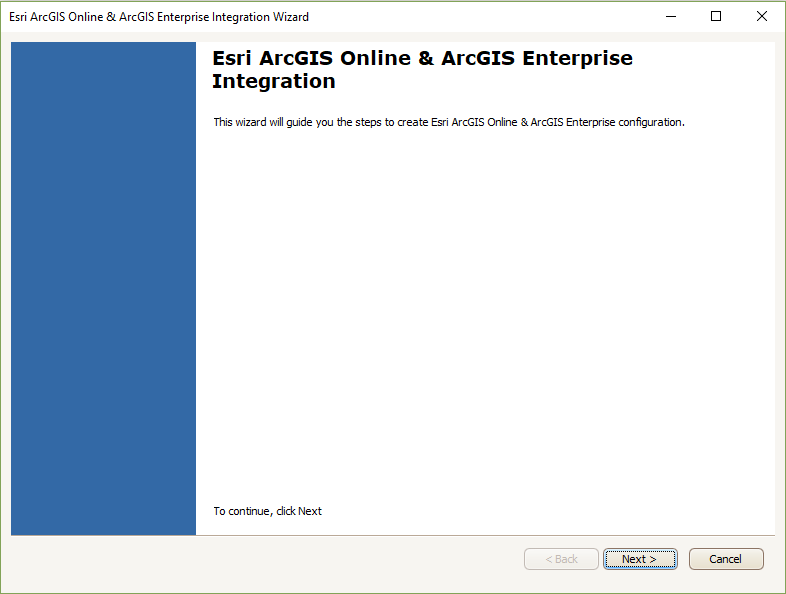
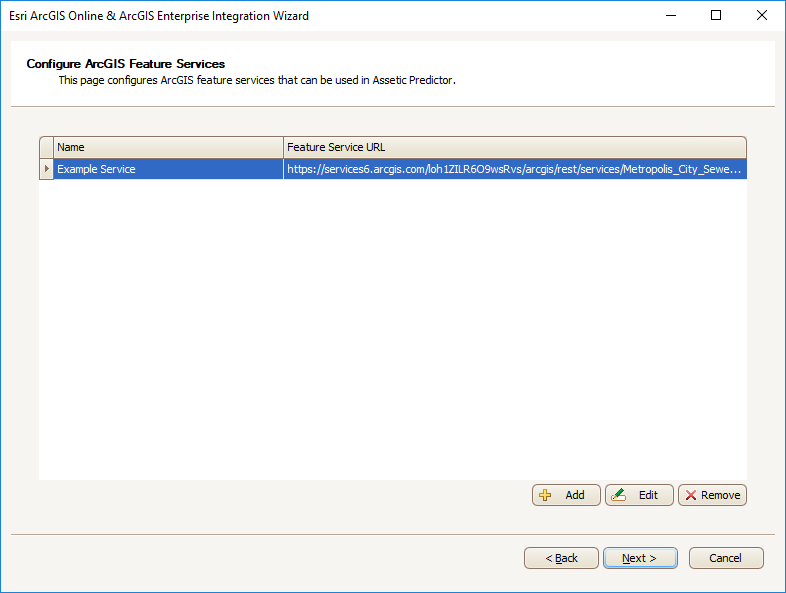
Clicking ‘Next’ to proceed to the Configure ArcGIS Feature Services screen. Esri ArcGIS feature services are added to Predictor’s integration, to be later used as publishing destinations for simulations:
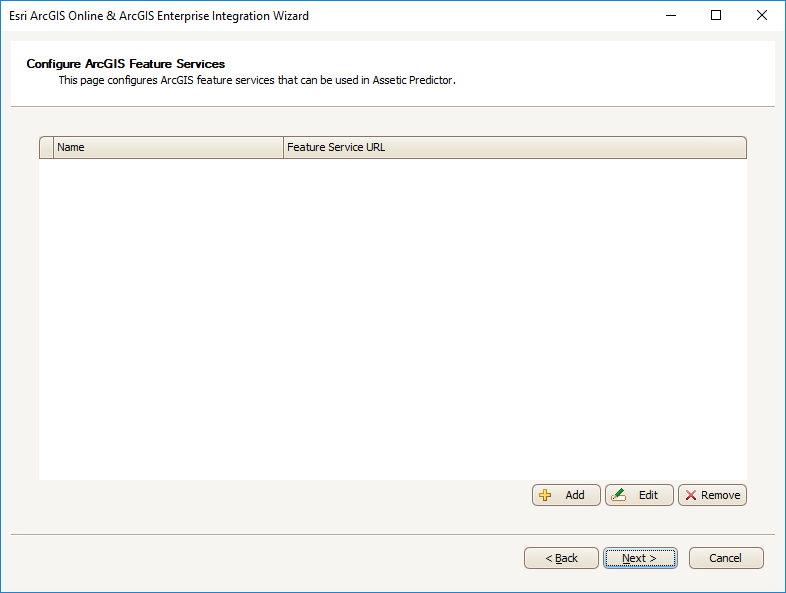
From this screen, new ArcGIS feature services can be configured for use in Predictor, and existing feature services that have already been configured will appear in the list.
Add new Feature Service Definition
To add a new feature service, click ‘Add’, the following dialog window will popup:
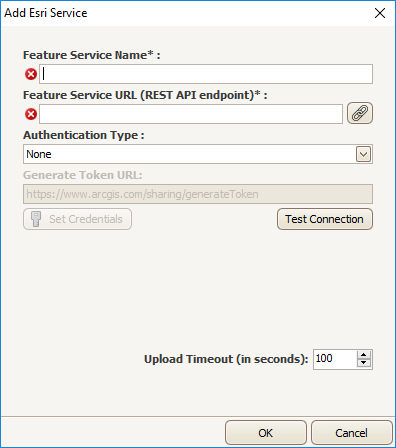
Feature Service Configuration
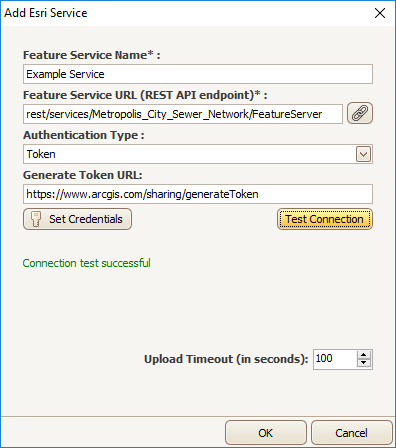
In the ESRI Service dialog window the following definitions are required:
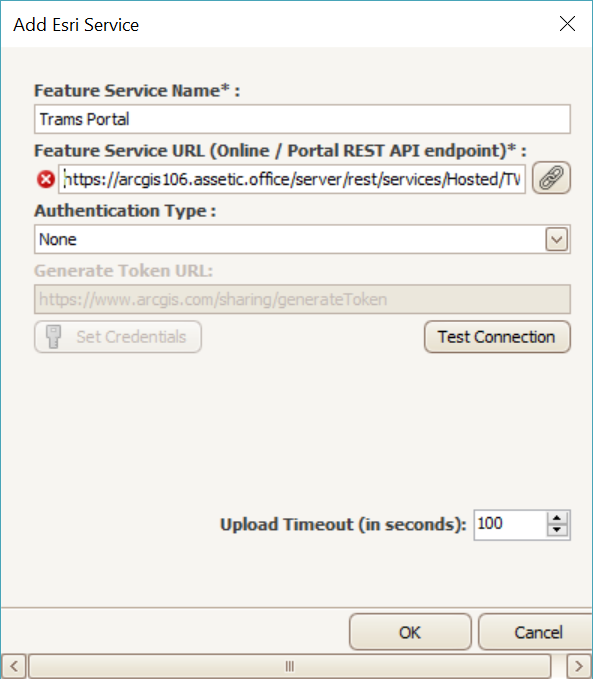
- Feature Service Name*: A mandatory field to give a name to the feature service, as it will appear in Predictor. This does not need to match the name as it appears in ArcGIS Online.
- "Trams Portal" in the example below
- Feature Service URL (REST API endpoint)*: A mandatory field to specify the location of the feature service to connect to. This URL comes from within ArcGIS online/ArcGIS Enterprise.
- https://arcgis106.assetic.office/server/rest/services/Hosted/TW_assetic/FeatureServer in the example below (note this is an ArcGIS Enterprise feature service)
Authentication to ESRI
Typically ArcGIS feature services require authentication in order to connect to them, in which case authentication details must be added to Predictor.
No Authentication option
A publicly shared feature service does not require authentication in order for Predictor to connect to the feature service. For this reason the 'None' option is provided as an authentication type. It allows Predictor to consume the feature service data as a data source.
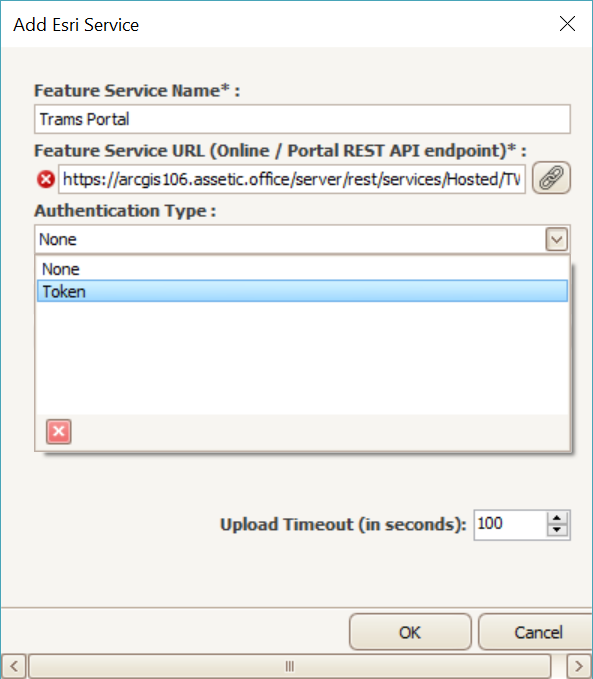
ESRI Token
To do this, select ‘Token’ from the Authentication dropdown:
Next, click ‘Set Credentials’ to open the enter credentials window:
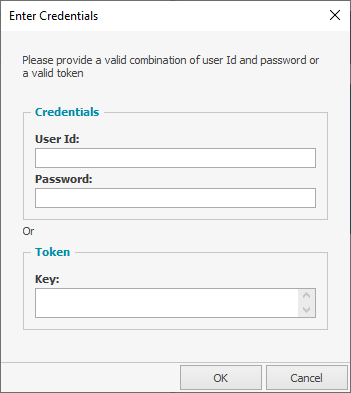
Authentication and token generation can be made using either the user Id and password from the ArcGIS Online account, or entering an authentication token key.
ESRI User Id and Password
Enter an ESRI username and password for an ESRI user belonging to an ESRI group that has access to the target feature service. If the user Id and password are valid, a token will be generated and used to authenticate to ESRI when accessing the data or publishing simulations.
ESRI Token
The authentication token can be generated using the ArcGIS Online's/ ArcGIS Enterprise token page. If using Single Sign On (SSO) first log into your ArcGIS Online/Enterprise environment then open a new browser tab.
For ArcGIS Online the default URL is https://www.arcgis.com/sharing/generateToken,
For ArcGIS Enterprise the URL is dependent on your Enterprise server host, port, and site name https://<host>:<port>/<site>/sharing/rest/generateToken In the following example the server host is arcgis106.assetic.office, the port is not defined as it is redirected automatically to the correct port, and the site is 'portal': https://arcgis106.assetic.office/portal/sharing/rest/generateToken).
When generating the token, the 'Webapp URL' option must be used. The URL to apply for the 'Webapp URL' is the URL already entered as the 'Feature Service URL' in the configuration step above (https://arcgis106.assetic.office/server/rest/services/Hosted/TW_assetic/FeatureServer in the example). The screenshot below is the ArcGIS token generation page, with 'Webapp URL' chosen and a value for the URL entered.
Click on the 'Generate Token' button, copy the generated token, and paste into the 'token' box of the Predictor 'Edit Credentials' dialog window.
Test Credentials
ArcGIS Enterprise
For ArcGIS Enterprise the default value for the token URL in the 'Generate Token URL' box must also be modified because this default is for ArcGIS Online. Paste in the same URL as what was used to navigate to the token generation page (https://arcgis106.assetic.office/portal/sharing/rest/generateToken in our example)
Once the credentials or token have been added and the token URL is correct click ‘Test Connection’ to confirm the authentication. The following screenshot is for an ArcGIS Online feature service.
Once the connection is working, click ‘OK’ to add the feature service. It will now be visible in the ArcGIS Feature Services window:
Configure Feature Layers
Once the feature service has been added, specific feature layers from that service added. Click ‘Next’ to proceed to the ‘Configure ArcGIS Feature Layers’ screen:
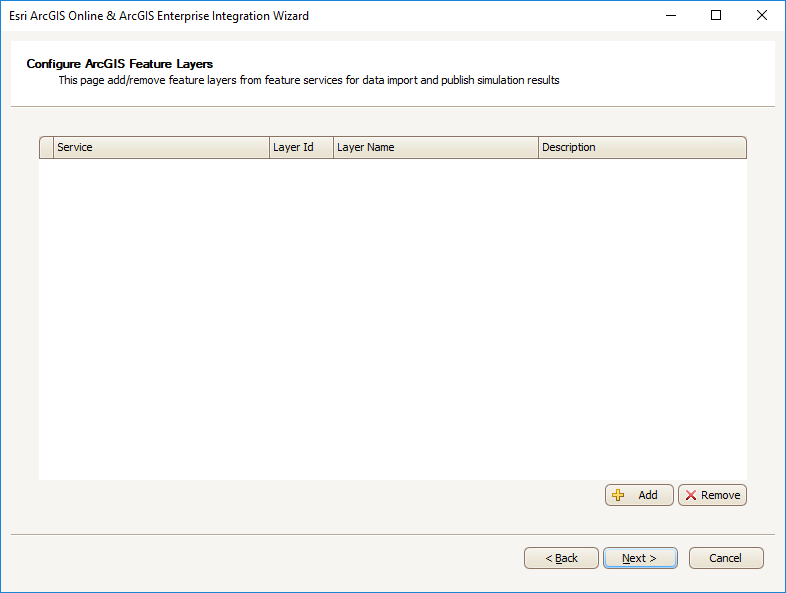
Add Layer
Click ‘Add’ to add a new feature layer, and the ‘Add Esri Layer’ window will appear:
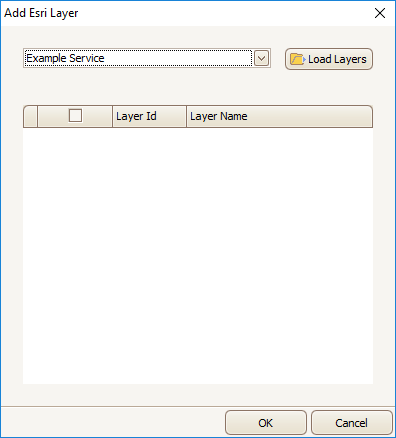
In order to load the different layers that comprise the feature service, select the service from the drop-down and click ‘Load Layers.’ Once they are loaded, select the layers to add to Predictor from the list, and click ‘OK’:
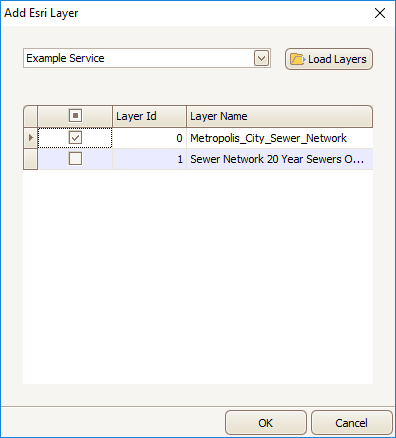
The added layer will appear in the list:

Click ‘Next’ to finish the Integration process.
Conclusion
Additional feature services can be defined by repeating the above steps. This allows one feature service to be used as the data source and a second feature service for the published simulations.
Note: The underlying data storage used by ArcGIS, be it pgSQL, MSSQL, etc. may contain database reserved words. This reserved words must be avoided so as not to cause an error with the integration. For example, "window" is a reserved word when using the default ArcGIS Data Store, and will cause an error if it is used in service criteria, treatment filter, or treatment field names.
